
This post may contain affiliate links. Please read our disclosure policy for details.
I once read an article that said this generation of kids are the most photographed of all time, but they are in danger of not having ANY photos of their childhood. How could that be? Technology.
All our photos are trapped in a digital world. They live on our computers and phones. Hopefully, they are backed up online and on external hard drives. We share them on Facebook, Instagram, and in texts and emails. But are we printing them out and writing down our memories?
The point of the article I read was that technology is always changing. Will social media be the same in 20 years? How many phones or computers will you go through in that time? Will your kids have access to their childhood photos if they aren’t printed out? Will they want to go through thousands and thousands of photos that you have saved online somewhere? The answer to those questions is likely no, which is why you need to do something about it today.
Luckily we have different options available to help us get physical prints of our photos into our hands. You can make traditional scrapbooks with physical prints, order photo books on many websites, and even have your social media posts made into a photo book. No matter which option you choose, enjoying your photos and your stories should be what is important.
My Scrapbooking Story
I began traditional scrapbooking 17 years ago. Buying pretty supplies and participating in online scrapbook communities was fun, but the actual process was stressful to me. Working on a page with a few pictures took hours, and I felt like I would never catch up. Albums never got completed because I worked on whatever interested me.
For a few years, I made a photo books for Christmas gifts, but I felt limited by pages, backgrounds, and layout designs. Not many pictures fit on a page and there wasn’t much space to really tell our stories. Years passed and our photos continued to sit on our computer.
Enter: Project Life 🙂
Project Life is a memory keeping system that was developed by Becky Higgins in 2009. It features pocket page protectors that you can easily slip 4×6 photos and title/journaling cards into. Easy memory keeping with no cutting, gluing or embellishing.
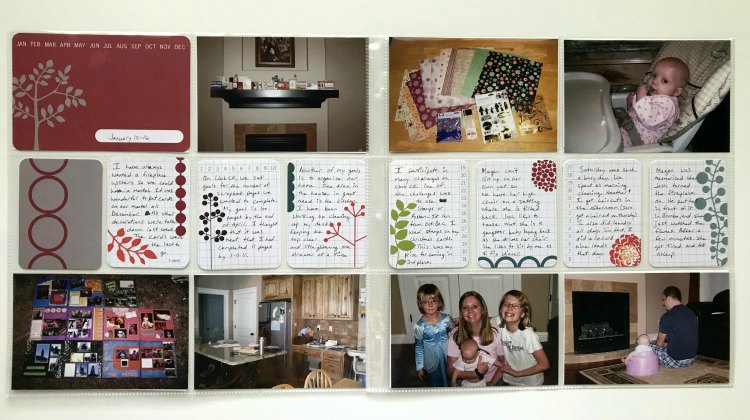
Over the years, more collections have been added, and the focus shifted from taking daily pictures to using it for traditional scrapbooking. Some people focus on weekly pages, some focus on monthly pages or events. How you use it is totally up to you!
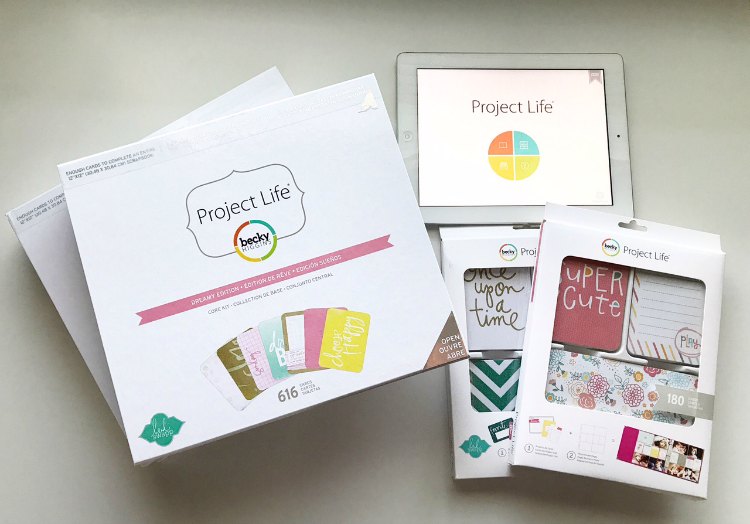
Project Life comes in three different versions: Physical kits for printed photos, Digital Project Life that is done on your computer with Photoshop, and the Project Life App that is available for iOS and Andriod mobile devices. Physical kits can be found online at BeckyHiggins.com or at major craft stores. Digital kits can also be found at BeckyHiggins.com, and the App can be found in the App Store and Google Play ($2.99 for the App, $1-2 for card kits).
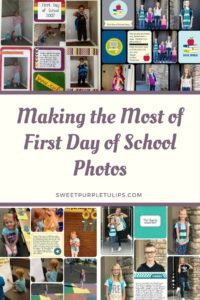
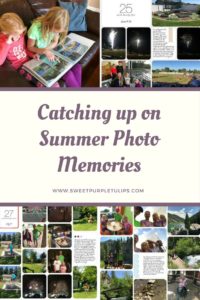
The Project Life App changed my scrapbooking. I take 99% of my photos with my iPhone. Being able to complete a scrapbook page in the palm of my hand from ANYWHERE is amazing. My first completed album was a Disney Vacation album in 2015. By the end of that year, I had completed my first family album. Since that time, I have stayed current with my albums and am working on past years. Look for those pages to be shared here and on Instagram.
How the Project Life App works
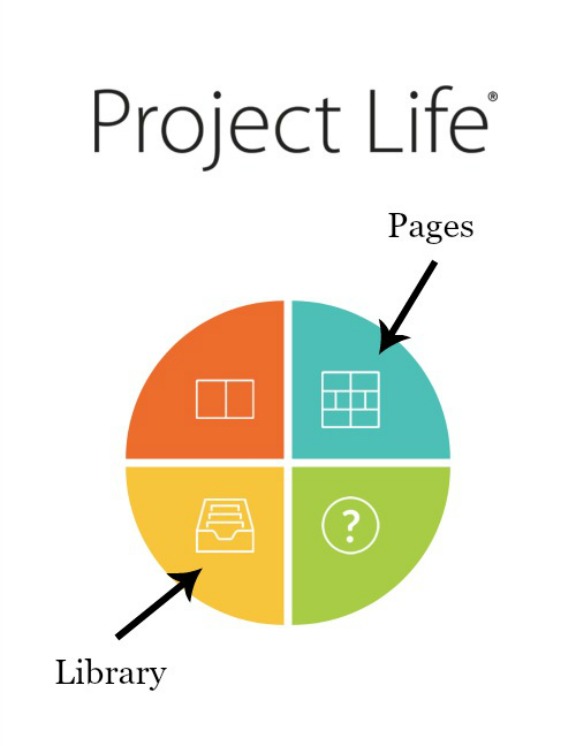
The home screen of the app looks like this. The orange section is for making photo collages, the blue section is where you make pages, the yellow section contains your library of pages and collages, and the green section is where you tap for customer service. You can also order prints, photo books, and greeting cards from this screen.
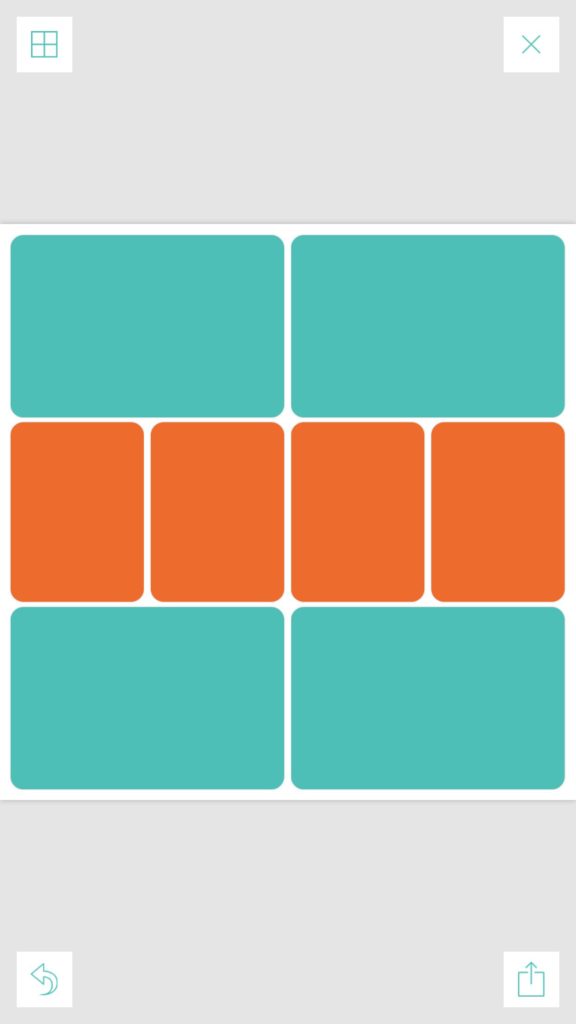
The default page (design A) comes up when you click the page section. The top left button with the squares takes you to design options, and the X on the top right closes the page. The bottom left arrow is the undo button, and the bottom right arrow with a box is the export button. In design options, you can choose the layout of your page, the background color, and the boxes with square or rounded corners.
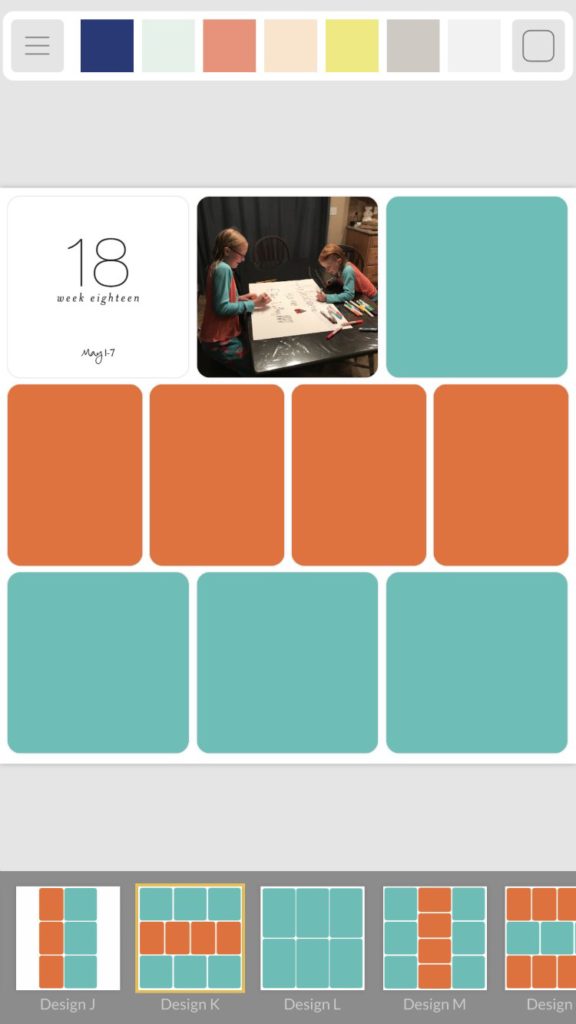
Choose your design and then click on any box to add a photo or choose a card from one of your kits. 
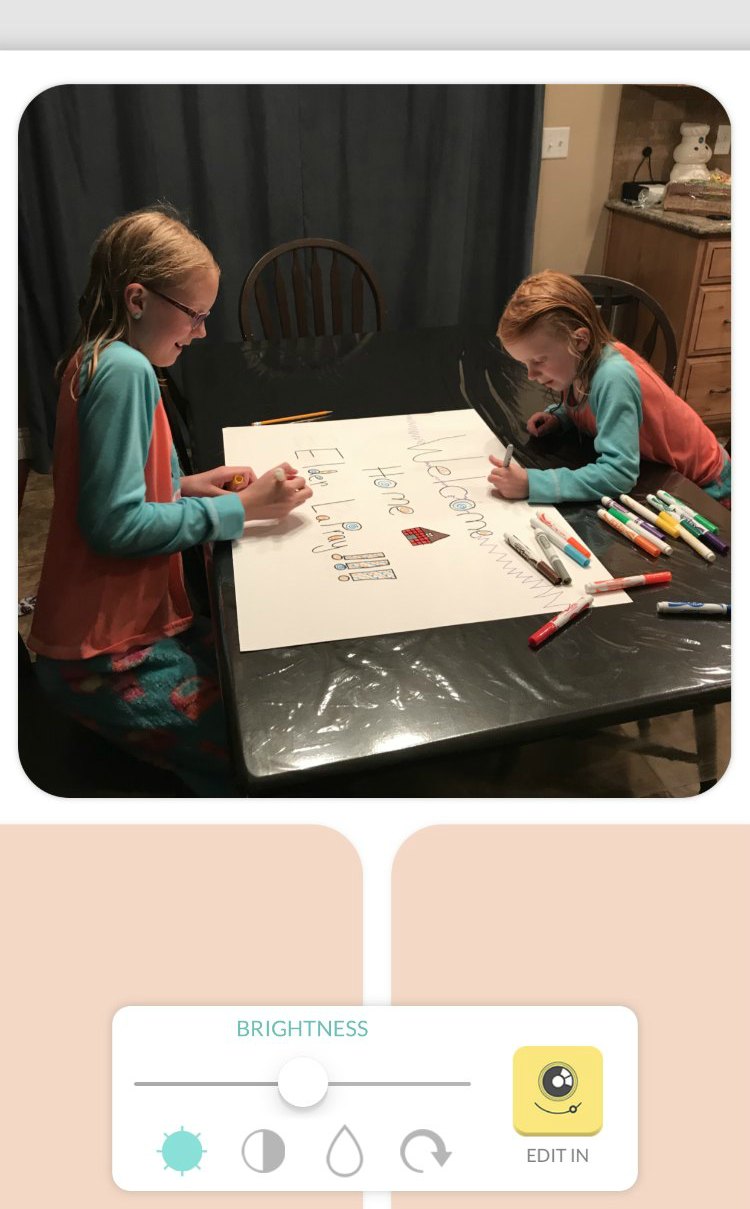
You can do basic photo editing or use Pic Tap Go (downloaded separately) directly in the App.
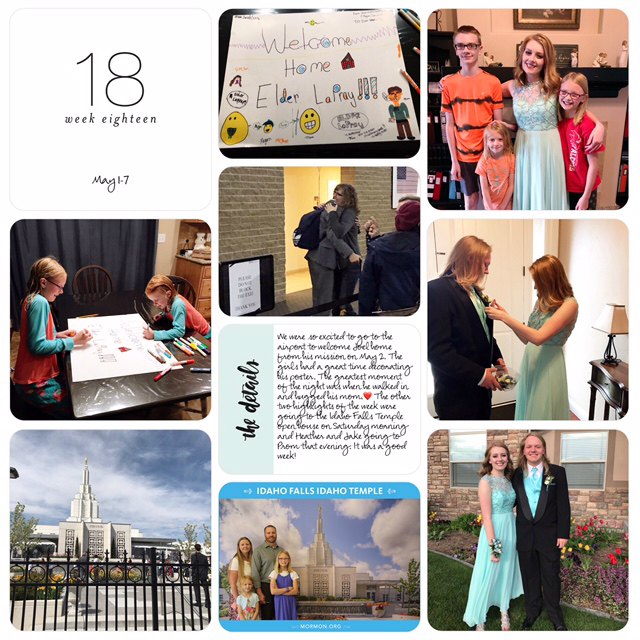
Add all your pictures and choose title and journaling/filler cards. Click on the cards to add text and you are done! Pages can be ordered from the App or made into a photo book. Quick, easy, and doable! Don’t let your photos sit in the digital world. Do something with them and enjoy your memories. Follow me on Instagram for more inspiration!
You might also like:

This is awesome! I will definitely be looking this up!